01.
REMOVE OLD STRINGS
Loosen all the strings by the tuning pegs - pluck each string to check you’re turning the right way. Once all of the strings have been loosened, pull the bridge pins out one by one - it helps to push the string down as you pull the pin out, but you made need pliers (gently) sometimes for tough fighters.
02.
CLEAN & READY
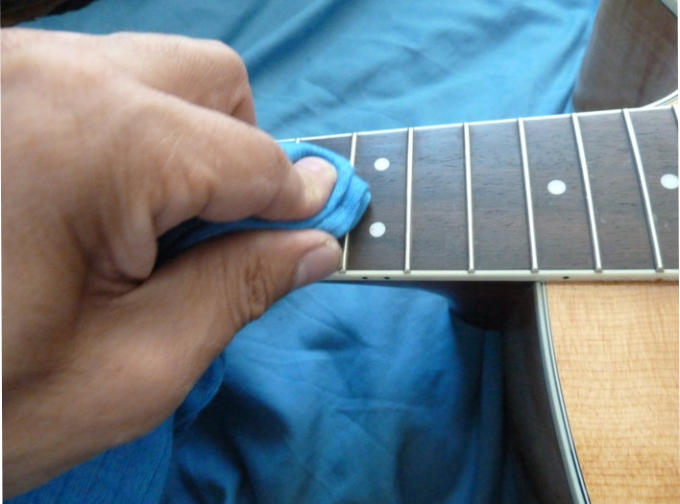
Now is always a good time to take a cloth and remove the built-up sweat on the frets and the dust by the bridge and nut before you put your new strings on. Remove them from the pack and lay them out in order - use the back of the box for easy colour identification.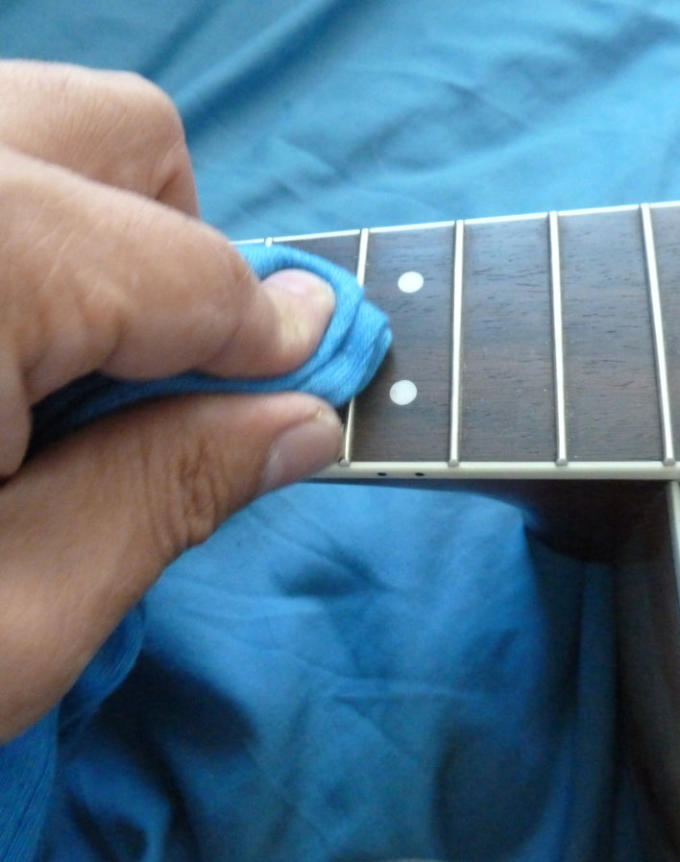
03.
STRINGS ON BRIDGE
Take each string by the ball-end, insert it a little into the hole, and then with its groove facing up the guitar, fully insert the bridge pin in with the string. When it’s time to tighten up the strings, you will need to keep one finger or thumb on the bridge pin while you wind the tuning peg.
05.
STRETCH
For each string, hold down the first fret with your normal fretting hand and pull the string away from the guitar a medium a mount - the string will slacken and will need to be tightened up - a lot at first, and then quickly diminishing. Take care not to apply so much force you pull the string out at the bridge or break it!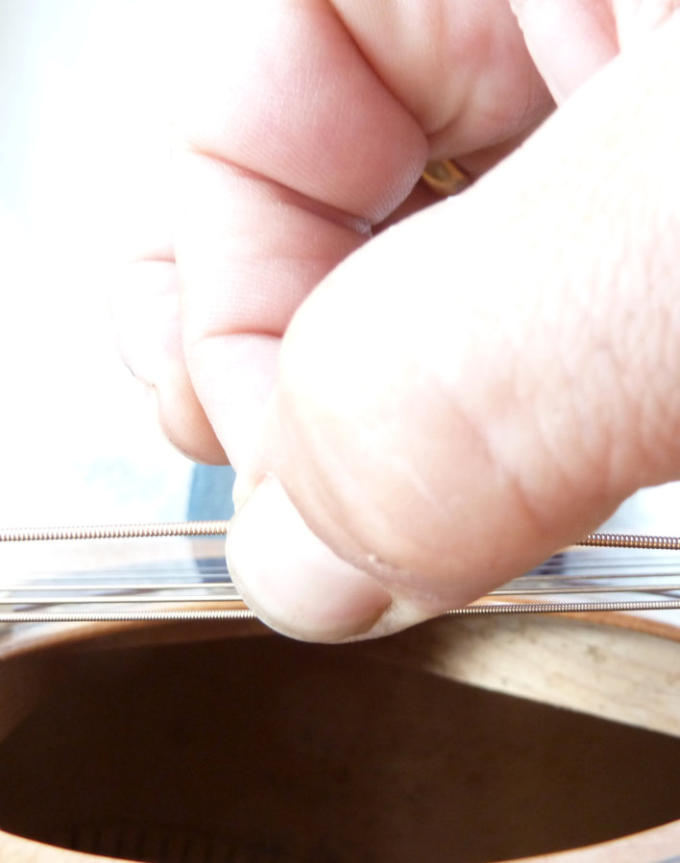
06.
TUNE
And re-tune, and tune again. It can take a few stretches and re-tunes before your new strings have fully bedded in and will hold their tuning It’s also good to mix using a tuner and tuning by ear.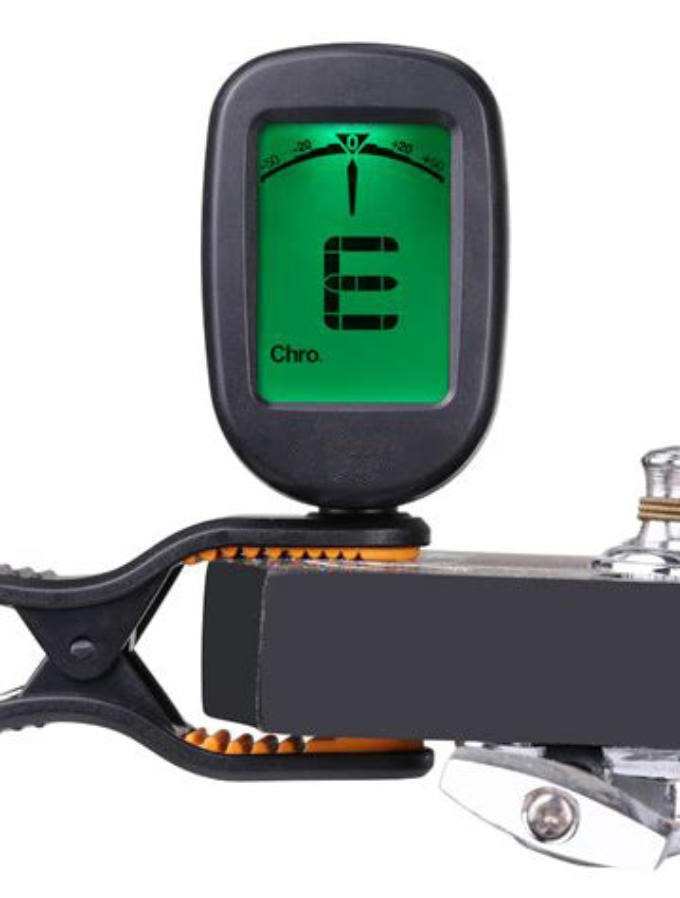
04.
STRINGS ON PEGS
Making sure each tuning peg hole is facing 90 degrees from the neck, take the bare end of the string and thread it through the hole, leaving a couple of inches of slack to wrap the string over the top of the peg once or thrice depending on thickness, then feed the end back over the main line as you tighten the peg back up.

HOW TO CHANGE YOUR ACOUSTIC GUITAR STRINGS


01.
REMOVE OLD STRINGS
Loosen all the strings by the tuning pegs - pluck each string to check you’re turning the right way. Once all of the strings have been loosened, pull the bridge pins out one by one - it helps to push the string down as you pull the pin out, but you made need pliers sometimes for tough fighters.


03.
STRINGS ON BRIDGE
Take each string by the ball-end, insert it a little into the hole, and then with its groove facing up the guitar, fully insert the bridge pin with the string. When it’s time to tighten up the strings, you will need to keep one finger or thumb on the bridge pin while you wind the tuning peg.
05.
STRETCH
For each string, hold down the first fret with your normal fretting hand and pull the string away from the guitar a medium a mount - the string will slacken and will need to be tightened up - a lot at first, and then quickly diminishing. Take care not to apply so much force you pull the string out at the bridge or break it!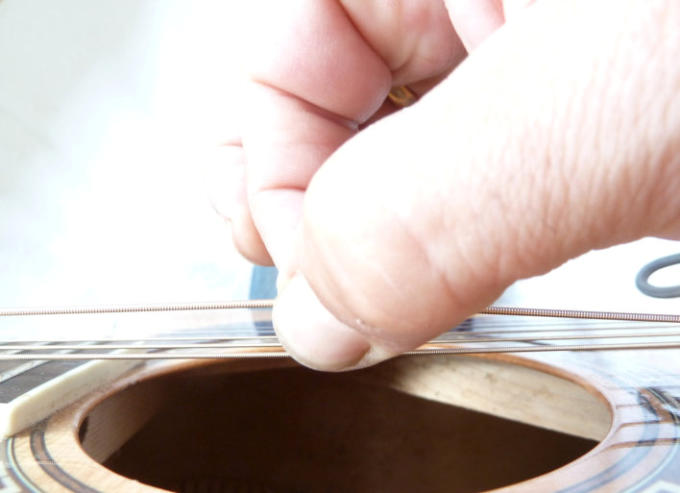
06.
TUNE
It can take a few stretches and re-tunes before your new strings have fully bedded in and will hold their tuning normally. It’s also good to mix using a tuner and tuning by ear.
04.
STRINGS ON PEGS
Making sure each tuning peg hole is facing 90 degrees from the neck, take the bare end of the string and thread it through the hole, leaving a couple of inches of slack to wrap the string over the top of the peg once or thrice depending on thickness, then feed the end back over the main line as you tighten the peg back up.
HOW TO CHANGE YOUR ACOUSTIC GUITAR STRINGS